win7怎么共享文件夹?win7文件夹共享设置教程
win7怎么共享文件夹-win7文件夹共享设置教程?
在win7系统中,我们可以在局域网上共享文件夹,当共享设置完成后,连上同一局域网的其他电脑用户可以直接在电脑的网络上打开共享文件夹,那么该怎么安装呢?下面就一起看看吧。

win7怎么共享文件夹
1、首先进入网络设置,然后点击左侧的“更改高级共享设置”

2、在高级共享设置中,展开“公用”选项,如图所示。

3、勾选“关闭密码保护”如图所示,然后保存设置并退出。

4、接着右键选中需要共享的文件夹,打开属性,选择“高级共享”

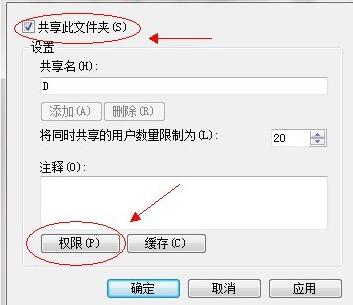
5、勾选“共享此文件夹”,再点击下方注释栏下的“权限”
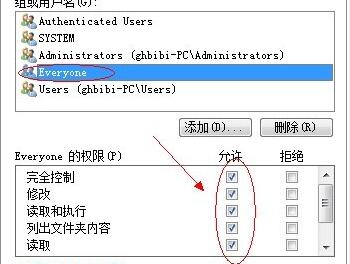
6、选中上方的“everyone”用户,将下方的全新全都勾选为“允许”

7、接着来到需要共享的磁盘位置,右键打开磁盘的属性,进入“安全”选项卡,点击“编辑”

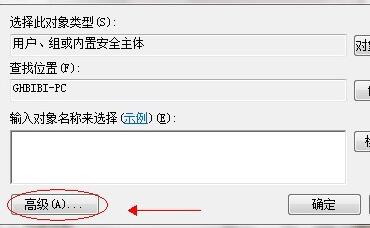
8、接着在组或用户名下方点击“添加”

9、然后点击“高级”进入高级选项,如图所示。
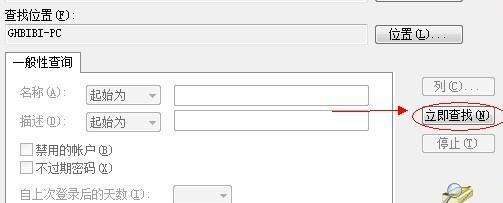
10、不需要点击其他地方,直接选择“立即查找”,如图所示。
11、找到“everyone”的用户,鼠标双击选择。
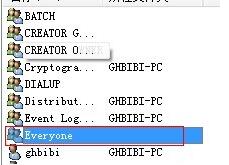
12、接着就能看到everyone被添加到了用户中,然后点击“确定”

13、然后选中“everyone”,将所有这些权限勾选为“允许”
14、接着来到计算机中,右键点击空白处,选择“添加一个网络位置”

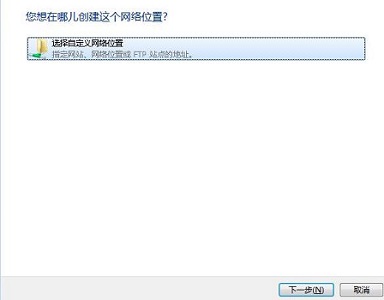
15、选择自定义的网络位置,点击“下一步”
16、接着会来到这样的位置,需要输入共享文件夹链接。

17、我们看一在需要共享的磁盘的“共享”选项卡下找到它的网络路径,将它复制到上图的地址中。

18、接着点击“下一步”就可以完成设置了,最后再点击“完成”

19、完成设置之后,其他用户可以在计算机的“网络位置”处找到共享的文件夹了。

以上就是win7文件夹共享设置教程了,大家有需要的快去共享自己的文件夹吧。